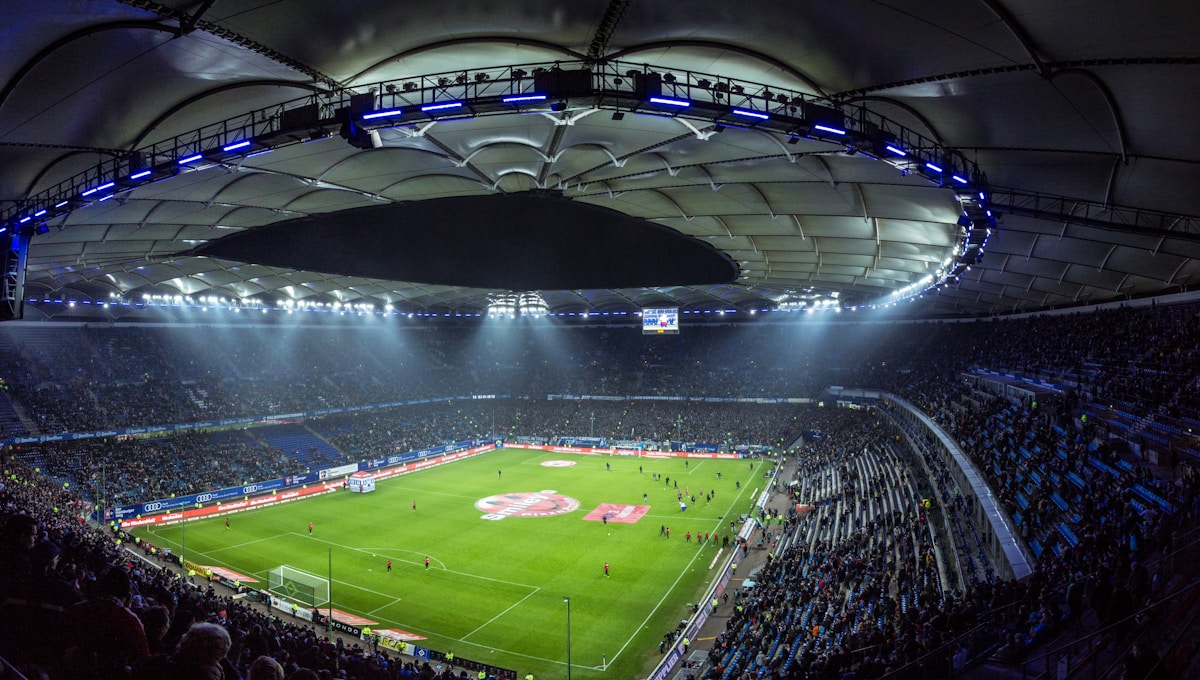
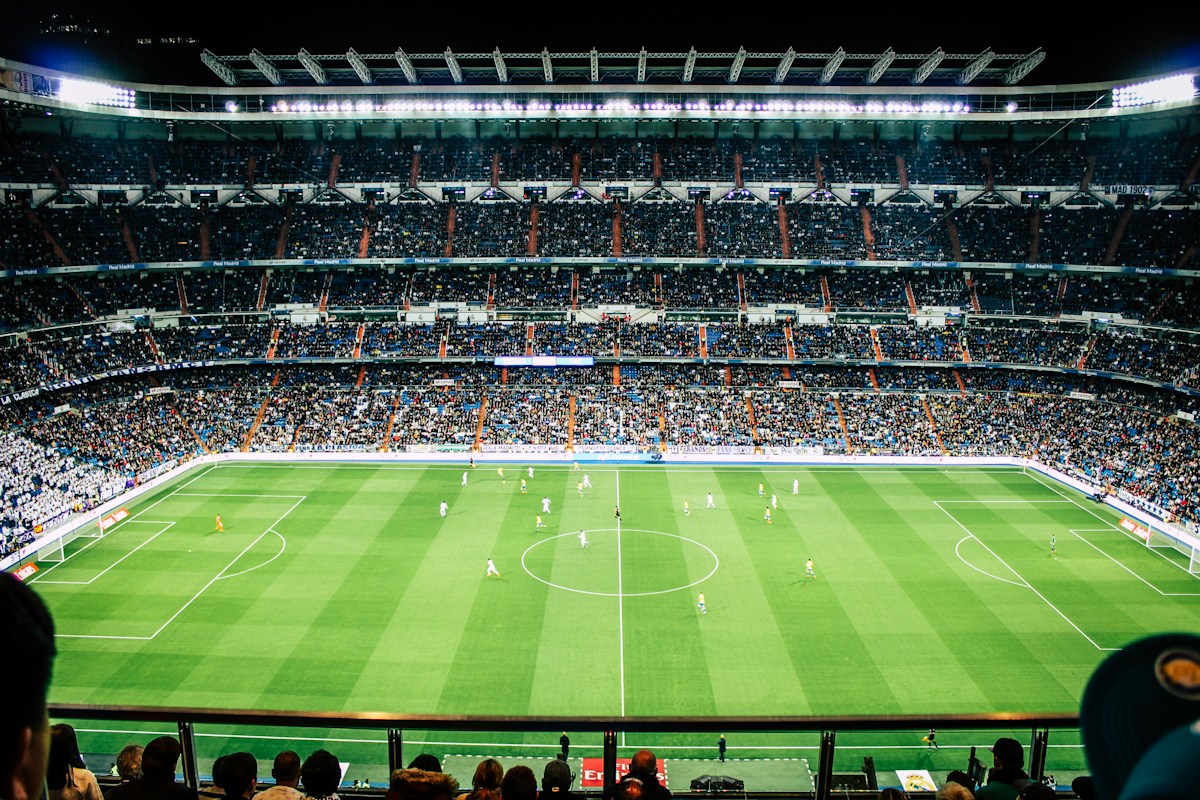
Playing out from the back can break any press, but a single error near your own goal is fatal. This guide covers the principles, the triggers, and the escape routes.

Archive: 2026
292 stories published in 2026
Wing-backs must attack like wingers and defend like full-backs, often covering more ground than anyone. Learn the role's demands, variations, and what makes a great one.
Late winners are not luck β they come from fitness, belief, tactical changes, and habits built all week. Learn what the data says about teams that score late.
The 4-2-3-1 combines a double pivot with three attacking midfielders behind a lone striker. This formation board breaks down every line and when to use it.
The 4-4-2 diamond stacks four midfielders centrally to dominate the middle, sacrificing natural width. This formation board explains its shape, roles, and counters.
Short corners trade a crowded box for a better angle and a moving defence. This set-piece lab breaks down the routines that make them work.
Defending corners is a set-piece discipline of its own. This lab compares zonal, man-marking and hybrid systems, and the goalkeeper's role in claiming crosses.
Two striker systems are unfashionable but far from dead. This squad tactics guide explains the partnership types and when a duo beats a lone forward.
The 3-2-5 is not a starting formation but the attacking shape most top teams morph into. This formation board explains how teams build it and why it works.
The striker is the first defender in a pressing team. This guide explains pressing angles, curved runs, and how forwards trigger the whole team's press.
A single pivot frees an extra attacker; a double pivot adds security. This formation board compares both midfield bases and when each one wins matches.
A wide overload puts two attackers against one defender on the flank. This guide explains how teams create them and what the isolated defender can do.
Not all deliveries are equal: the zone a set piece lands in decides its danger. This set-piece lab maps the key zones and what makes each one effective.
The 4-3-3 is football's most popular shape, balancing width, midfield control and attacking threat. Learn where it dominates and where it breaks down.
Back threes and back fours shape everything from build-up to wing play. Compare their strengths, weaknesses and the squads each one suits best.
Direct shots are only one free-kick option. Learn the lay-offs, decoy runs and training-ground routines that turn fouls near the box into goals.
Throw-ins in the attacking third are wasted by most teams. Learn the long throw, the quick throw and the rehearsed moves that create real chances.
Substitutions are tactical tools, not just fresh legs. Learn how managers switch shape mid-match, when to change, and why timing decides success.
Long throws cause panic in packed penalty boxes. Learn the marking, front-post and second-ball organisation that keeps teams safe from them.
The 3-5-2 lives or dies by its wing-backs and strike partnership. Learn every role in the system and what each player must do to make it work.
Near-post corners are fast, hard to defend and increasingly popular. Learn the flick-on, the block and the training that makes them work.
Most set-piece goals come from second phases, not the first ball. Learn how teams position for rebounds, clearances and edge-of-box strikes.
The 5-3-2 packs the defence and frees the wing-backs to attack. Learn each role, when the shape works, and the weaknesses opponents target.
The 4-4-2 is football's classic shape: two banks of four and two strikers. Learn each player's role, the formation's strengths and weaknesses, and its modern variations.