Defensive Wall Setup for Free Kicks: Positioning, Numbers and Jumps
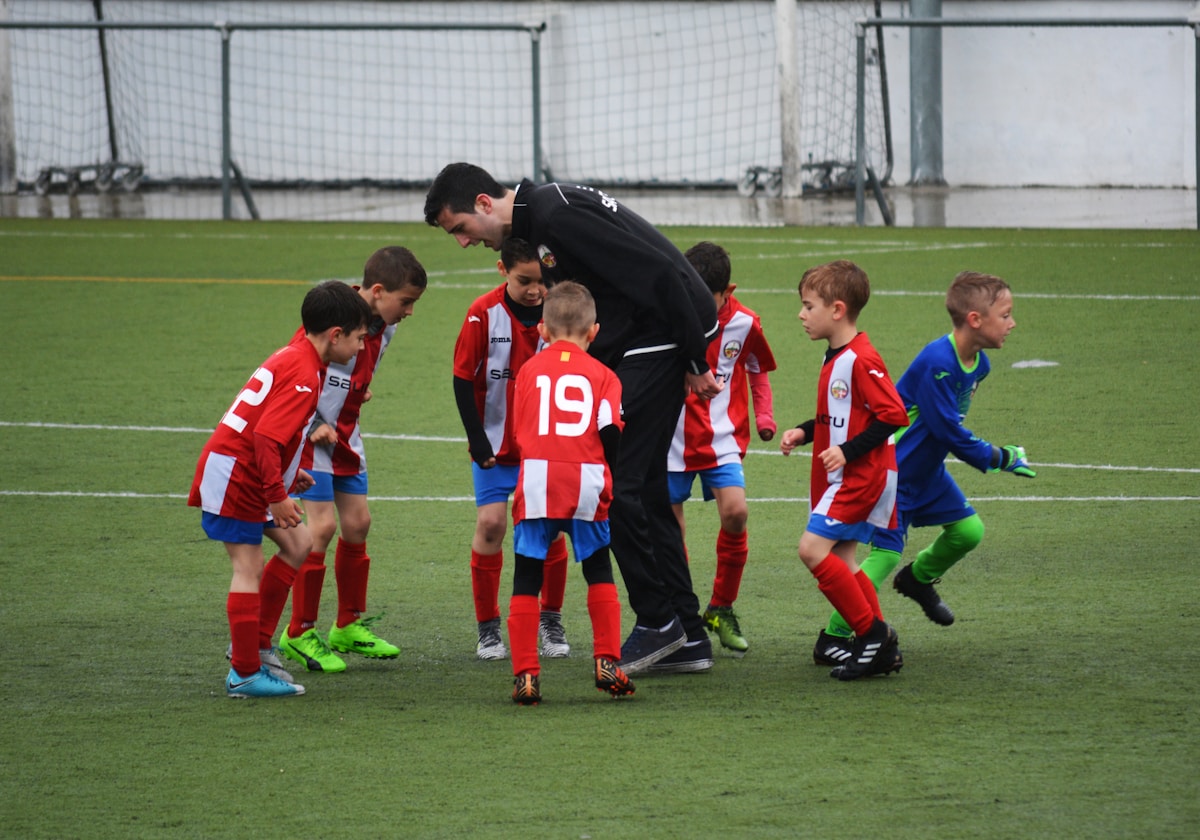
- Primary Signal: Defensive Wall Setup for Free Kicks: Positioning, Numbers and Jumps
- Overview: A well-set defensive wall can turn a dangerous free kick into a comfortable save. Learn how goalkeepers position the wall, how many players to use, and when to jump....
- Verification: Analyzed and compiled by Football2026 Tactics editorial monitoring desk.
A defensive wall is the first line of defence against a direct free kick, and its setup is a small tactical operation in itself. The goalkeeper positions the wall to cover one side of the goal, then guards the other side himself. Done well, the wall blocks the most dangerous shooting route and gives the keeper a clear view. Done badly, it leaves a gap, blocks the keeper's sight, or both.
The goalkeeper is the wall's architect. Standing on the goal line, he aligns the wall so that it covers the near post side, the side the shooter is most likely to target, while he positions himself to cover the far post. He uses the penalty spot and the goalposts as reference points, and he will adjust the wall's position by shouting and gesturing until the angles look right.
The number of players in the wall depends on distance and danger. A free kick twenty yards from goal might need four or five players, while a kick from thirty-five yards might need only two or three, since the keeper has more time to react. A central free kick needs a bigger wall than one from a wide angle, where the shooting route is narrower.
Jumping is a coordinated decision, not an individual one. If the wall jumps together, it blocks shots aimed over the top; if one player stays grounded, a low shot can pass beneath the jumpers. Some teams now place a player lying behind the wall to block low shots driven underneath, a response to shooters who learned to exploit jumping walls. The wall must also hold its position and not break early, since a gap is an invitation.
The wall's discipline matters as much as its position. Players must not turn their backs, duck, or use their arms above shoulder height, since handball in the wall can concede a penalty. They must also stay ten yards from the ball until the kick is taken, and they must not creep forward, which referees now punish more strictly with the help of vanishing spray.
Attacking teams try to disrupt the wall with decoy runners, lay-offs to a second shooter, and shots aimed at the keeper's side. A clever taker may shoot around the wall's end rather than over it, or pass to a teammate for a better angle. The wall's job is to make the shooter's task as hard as possible, not to make scoring impossible, which no wall can do.
A famous free kick goal often reveals a wall's failure in a single detail. The shooter aims for the keeper's side, curling the ball around the end of the wall, because the wall was positioned a yard too far toward the near post, or because a player in the wall jumped while his neighbour stayed grounded, opening a gap at waist height. Sometimes the wall itself blocks the goalkeeper's view, so he reacts a fraction late to a shot he would otherwise have saved. The best walls avoid these errors through rehearsal: the goalkeeper aligns the wall by reference to the posts, counts the players according to distance, and instructs them to jump together on his call. Some teams now add a player lying behind the wall to block low shots driven underneath the jumpers, a small innovation that shows how even this ancient defensive tool keeps evolving in response to clever shooters.
Next time you watch a free kick, ignore the shooter for a moment and study the wall: its size, its alignment, and whether it jumps as one. You will see a goalkeeper's tactical decision in real time, and you will understand why some free kicks look unstoppable and others look routine. The difference often starts with the wall.
📖 Continue Reading the Full Story
Continue reading this article on Football2026 Tactics.
⚡ Access Full Content NowMore from Football2026 Tactics

 ⚽ Global Football Odds
Strategic Positioning: Calculadora de Parlay — Odds Combinadas y Premios (Day 26 Guide)
Gaining a competitive advantage through Calculadora de Parlay — Odds Combinadas y Premios on Global Football O...
⚽ Football2026 Live
Strategic Positioning: Parlay Calculator — Gecombineerde Odds en Uitbetaling (Day 26 Guide)
Gaining a competitive advantage through Parlay Calculator — Gecombineerde Odds en Uitbetaling on Football2026 ...
🌍 Soccer2026 Global
Strategic Positioning: Calculadora de Parlay — Odds Combinadas e Prêmios (Day 26 Guide)
Gaining a competitive advantage through Calculadora de Parlay — Odds Combinadas e Prêmios on Soccer2026 Global...
⚽ SportsBet Insights Live
Comprehensive Guide: Calculadora de Parlay — Odds Combinadas e Prêmios (Day 1 Guide)
Everything you need to know about Calculadora de Parlay — Odds Combinadas e Prêmios on SportsBet Insights Live...